


The Arkel Grid Beanie KAL: Part 3
Knitting | 1 min read time
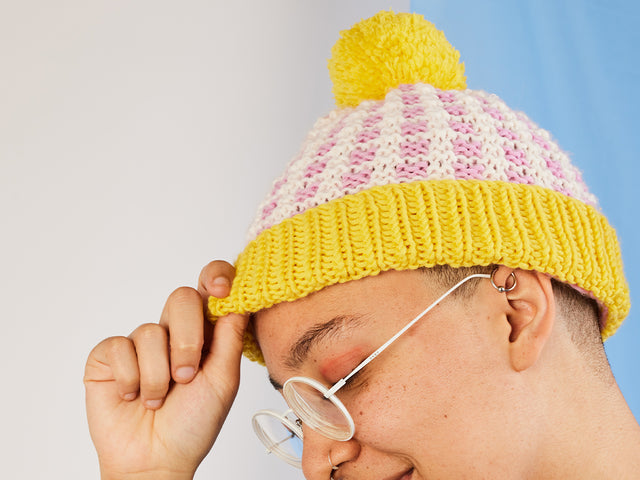
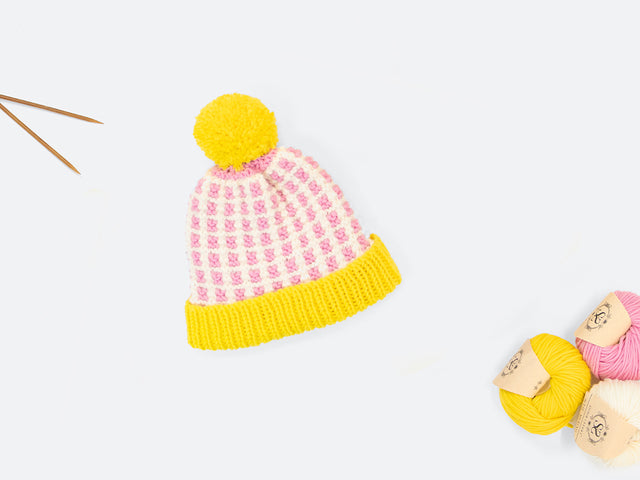
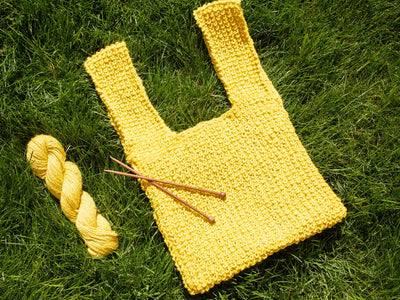
Finish off your beanie by shaping the top, sewing up, and adding a pom pom!
Once you’ve completed Part 1 and Part 2 of your pattern, join us here for tips on how to decrease the crown of your hat, then sew up the side seam, and make a perfect pom pom for the top.
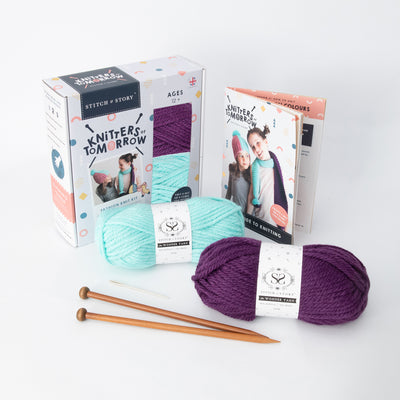
For this section of the hat you’ll need all 3 of your yarn colours. We’re using the Lil’ Merino yarn in Dutch Orange (Color A), Bright White (Color B), and Baby Blue (Color C).
How to decrease the crown of your hat
Abbreviations
k - knitk2tog - knit 2 stitches together
Using Color C, you’ll work decrease rows, alternated with knit rows. Decreases are used to shape garments. In your beanie pattern the decreases will create a close fit around the top of your head.
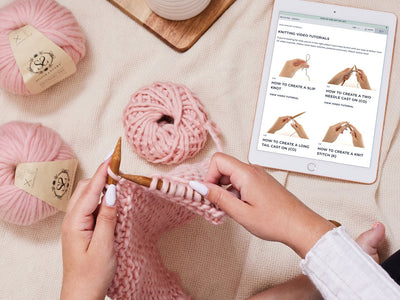
Need a hand? Take a look at our knitting video tutorial for how to decrease here.

How to sew up your hat
Once you’ve cast off your hat, keep the length of yarn attached, and use it to sew the sides of your hat together.
For tips on how to sew a neat, invisible seam, take a look at our video tutorial here.

How to make a pom pom
Now it’s time to create the finishing touch to your hat! Using Color A, make a big fuzzy pom pom, then secure it to the center of the top of your hat.
Create the perfect pom pom using our handy tutorial video here.

And there you have it! Now that you’ve mastered the slip stitch grid pattern, why not make yourself a matching set with the Polperro Grid Scarf pattern?
Share pictures of your finished beanie with a community of crafters on Instagram and Facebook.


Handmadebyhafsa - A Story Maker
2 min read time
Craftyparenttools - A Story Maker
2 min read time
Top 5 Granny Square Tips & Tricks
1 min read time
How do I start?
1 min read time
Setting your 2024 Crafting Intentions
3 min read time