


Sewing Up: Vertical and Horizontal (Garter Stitch)
2 min read time
Hello knitters,
Following on from last week's 'Sewing Up', today we're looking at the invisible seam technique for horizontal and vertical seams on pieces knitted in Garter Stitch.
Beginner's guide - Sewing Up in Garter Stitch (invisible seaming)
Tip: You want to ensure seams are not too tight but have a little elasticity.
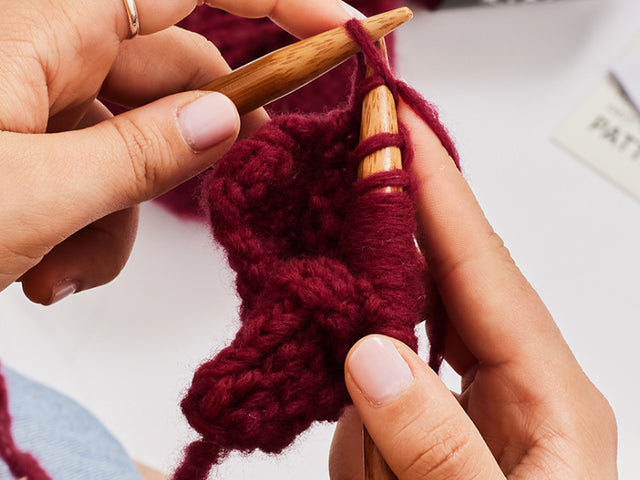
How to sew a vertical invisible seam - Mattress Stitch
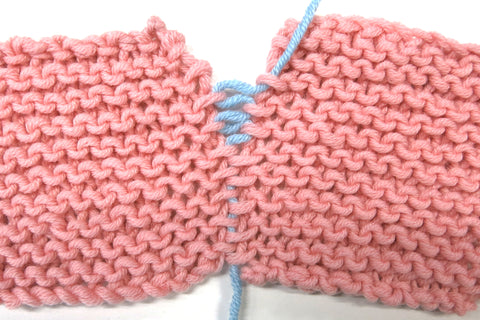
When working in Garter Stitch each ridge leaves an edge stitch with a top and bottom loop. Mattress Stitch seaming joins these loops in a weave pattern to create the appearance that the knitting is continuous - invisible seaming.

Step 1
With the right sides facing you, lay pieces to be joined side by side making sure to line them up stitch by stitch.
Tip: You may want to safety pin larger pieces together to prevent them moving as you sew.
Step 2Thread the sewing needle under the first edge top loop of one piece and pull the yarn through.


Thread the sewing needle under the corresponding bottom loop of the opposite piece and pull the yarn through.

Repeat steps 2 and 3, consistently using the top loop of one piece and the bottom loop of the other piece, until the seam is complete.


Pull the thread to bring the seams neatly together.

Front view

Back view
Step 6Knot and weave the loose ends through the back of your work.


How to sew a horizontal invisible seam
This technique is mainly used to seam together cast on and cast off edges neatly.

With the right sides facing you, lay pieces to be joined one above the other making sure to line the cast on/off edges up stitch by stitch.
Tip: You may want to safety pin larger pieces together to prevent them moving as you sew.
Step 2Thread the sewing needle under both legs of the first V found between the first set of garter ridges (inside the cast on/off edge) and pull the yarn through.

Thread the sewing needle under the corresponding V stitch on the other side and pull the yarn through.


Thread the sewing needle under the corresponding V stitch immediately adjacent to your first stitch (you will be threading in through the same gap your first stitch came out of) and pull the yarn through.

Thread the sewing needle under the corresponding V stitch on the other side and pull the yarn through.

Repeat steps 2 to 5 until the seam is complete.


Step 7
Pull the thread to bring the seams neatly together. You want to ensure your seam has some elasticity and resembles a row of stitches so don’t pull too tight.

Front view

Back view
Step 8Knot and weave the loose ends through the back of your work.


Check back on Thursday 19th (we're at The Knitting & Stitching Show next week) for instruction on sewing up specific Stitch & Story Kits. Happy knitting!
Don’t forget to share your story #stitchandstory #yarnmazing

Handmadebyhafsa - A Story Maker
2 min read time
Craftyparenttools - A Story Maker
2 min read time
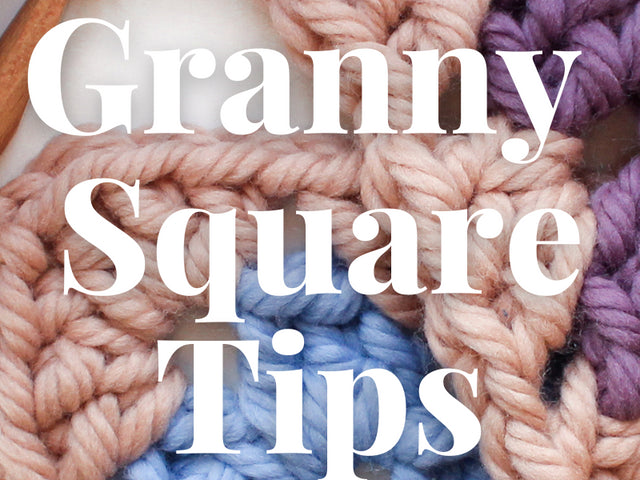
Top 5 Granny Square Tips & Tricks
1 min read time
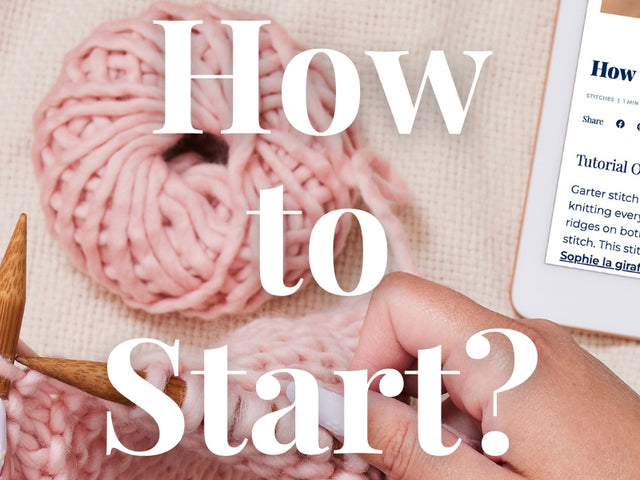
How do I start?
1 min read time
Setting your 2024 Crafting Intentions
3 min read time